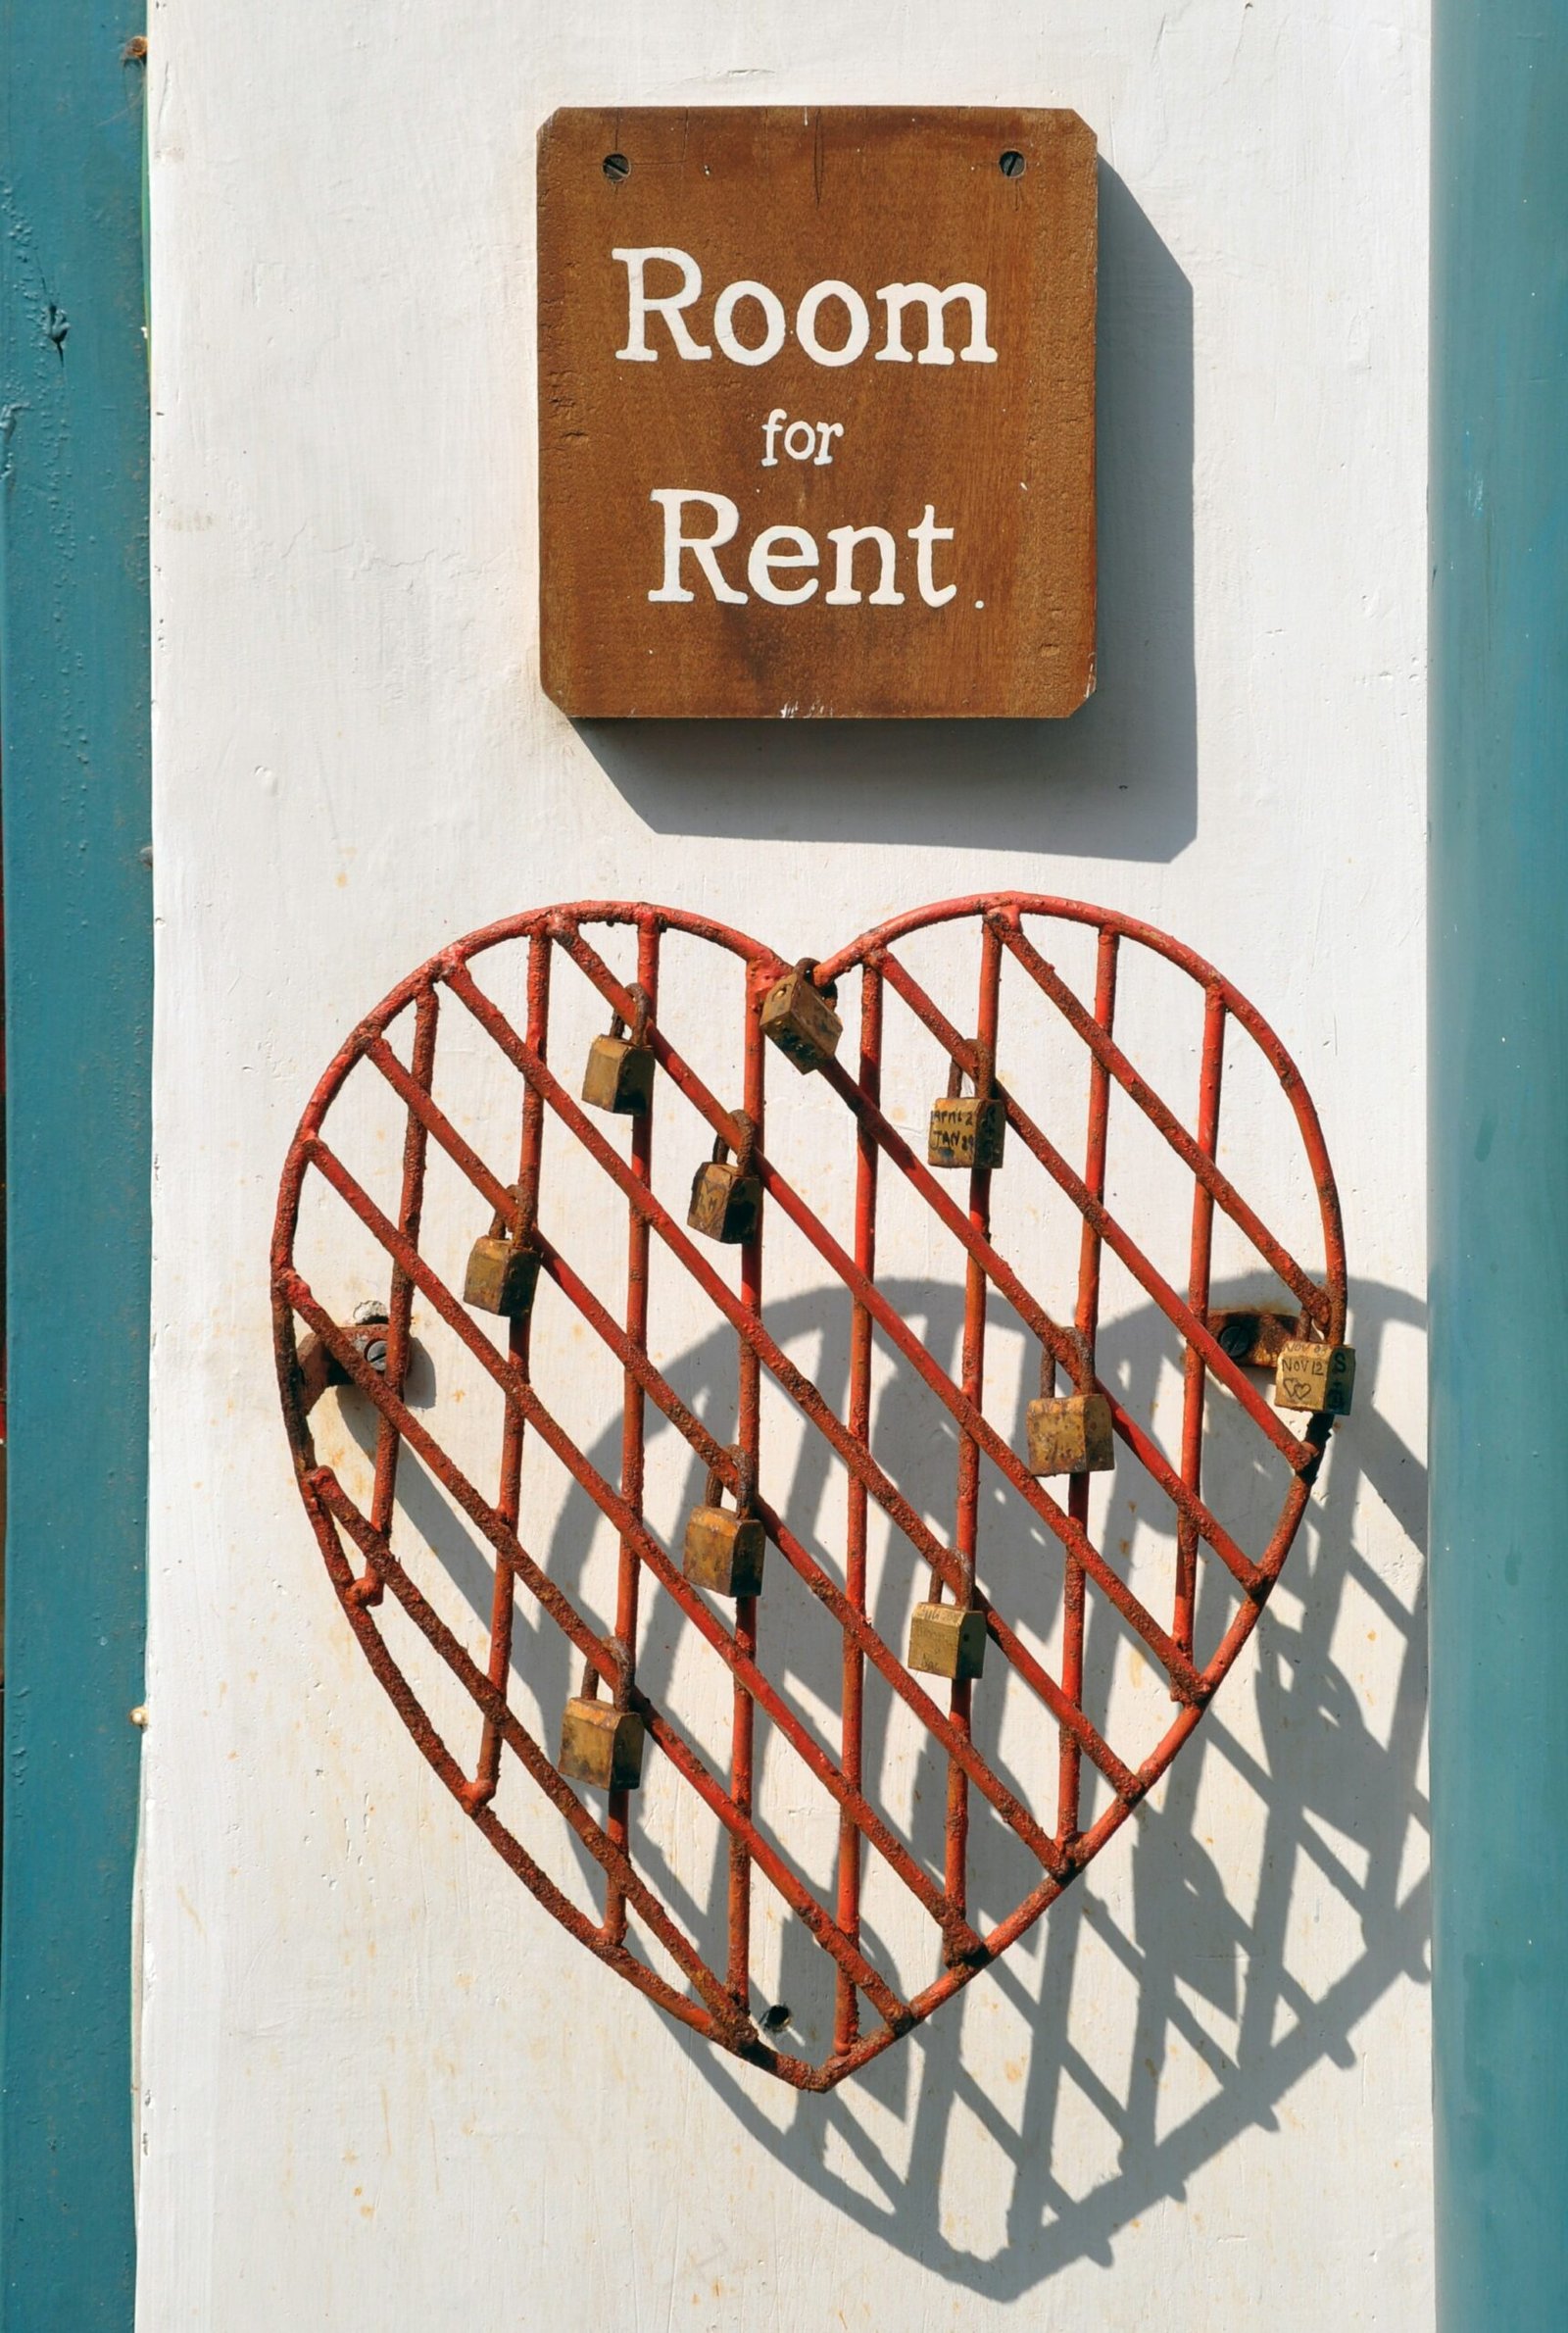

Collecting Keys for a Rental Property
When renting a property, one of the most important tasks is collecting the keys. Whether you are a tenant or a property manager, it is crucial to have a smooth and efficient process for obtaining the keys. In this blog post, we will discuss the steps involved in collecting keys for a rental property.
The first step in collecting keys for a rental property is to communicate with the landlord or property management company. Once you have signed the lease agreement and made the necessary payments, you will need to coordinate with them to schedule a time to collect the keys. It is important to provide them with your contact information so that they can reach out to you when the keys are ready.
Once a time and date have been established, it is essential to arrive on time to collect the keys. This shows respect for the landlord’s time and demonstrates your commitment to the rental agreement. It is a good idea to confirm the appointment a day or two in advance to ensure that everything is still on track.
When you arrive to collect the keys, it is important to have the necessary documentation with you. This may include a copy of the lease agreement, identification, and any other paperwork that the landlord or property management company requires. Having these documents ready will help expedite the process and prevent any delays.
Before accepting the keys, it is crucial to inspect the property thoroughly. Take note of any existing damages or issues and document them with photographs or written descriptions. This will protect you from being held responsible for any pre-existing damage when you move out. If you notice any issues, bring them to the attention of the landlord or property manager immediately.
Once you have completed the inspection and are satisfied with the condition of the property, you can accept the keys. It is important to keep the keys in a safe place and not to share them with anyone without the landlord’s permission. Losing the keys can result in additional costs and inconvenience, so it is essential to take proper care of them.
In conclusion, collecting keys for a rental property involves effective communication, punctuality, and thorough inspection. By following these steps, you can ensure a smooth and efficient process for obtaining the keys and starting your new rental journey.
Step 1: Confirm the Key Collection Process
The first step is to confirm the key collection process with the landlord or property management company. This can usually be done through email or a phone call. It is important to clarify the date and time for key collection, as well as any specific instructions or requirements.
During this conversation, you should also inquire about any additional documents or identification that may be required to collect the keys. Some landlords or property managers may ask for a copy of your ID or a signed lease agreement before handing over the keys.
Once you have confirmed the key collection process, it is essential to make a note of the details. Write down the date, time, and any specific instructions that were provided by the landlord or property management company. This will help ensure that you are well-prepared and organized on the day of key collection.
It is also a good idea to double-check the address where the key collection will take place. Confirm the location with the landlord or property management company to avoid any confusion or delays on the day of collection.
Additionally, if you have any questions or concerns about the key collection process, now is the time to address them. Take this opportunity to ask for clarification on any instructions or requirements that you are unsure about. It is better to have all the information upfront rather than encountering any surprises on the day of collection.
By confirming the key collection process and gathering all the necessary information, you can ensure a smooth and hassle-free experience when collecting the keys to your new property.
Step 2: Schedule a Time for Key Collection
Once you have confirmed the key collection process, it is important to schedule a specific time for key collection. This ensures that both parties are available and prepared for the handover.
When scheduling the key collection, consider factors such as your availability, the landlord or property manager’s availability, and any other commitments you or they may have. It is best to choose a time when both parties can dedicate their full attention to the key handover process.
To schedule a time for key collection, it is recommended to communicate with the landlord or property manager directly. This can be done through email, phone call, or even in person. Start by expressing your interest in scheduling a time for key collection and inquire about their availability. Provide them with a few options that work for you, taking into account any specific time constraints you may have.
Once you have proposed some potential times, be open to negotiating and finding a mutually convenient time. Remember that the landlord or property manager may have other commitments or responsibilities, so it’s important to be flexible and understanding during the scheduling process.
In addition to considering availability, it is also crucial to think about the logistics of the key collection. If you are renting a property in a different city or country, you may need to plan your travel accordingly. Allow yourself enough time to reach the location where the key handover will take place, factoring in any potential delays or traffic.
Furthermore, consider the time needed for the key handover itself. Depending on the complexity of the property or any additional paperwork that needs to be completed, the key collection process may take some time. It is advisable to allocate a sufficient amount of time for this to ensure a smooth and thorough handover.
Once you have agreed upon a specific date and time for key collection, it is important to confirm the details in writing. This can be done through email or by sending a formal letter to the landlord or property manager. Include all relevant information such as the date, time, and location of the key collection, as well as any additional instructions or requirements.
By scheduling a specific time for key collection and considering all the necessary factors, you can ensure a seamless handover process and start your new tenancy on the right foot.
Step 3: Prepare the Necessary Documents
Prior to collecting the keys, make sure you have all the necessary documents prepared. This may include a copy of your ID, a signed lease agreement, or any other documents requested by the landlord or property manager.
Having these documents ready in advance will help expedite the key collection process and prevent any unnecessary delays or complications.
When preparing the necessary documents, it is important to ensure that all the information is accurate and up to date. Double-check that your ID is valid and matches the information provided on the lease agreement. In some cases, the landlord or property manager may require additional documents, such as proof of income or references from previous landlords.
If you are unsure about the specific documents needed, it is best to reach out to the landlord or property manager ahead of time to clarify any requirements. This will save you time and avoid any last-minute scrambling to gather the necessary paperwork.
Once you have gathered all the required documents, make sure to keep them organized and easily accessible. Consider creating a folder or envelope specifically for these documents, so you can easily locate them when needed.
It is also a good idea to make copies of all the documents for your own records. This way, you will have a backup in case any of the originals get lost or damaged.
By being proactive and prepared with the necessary documents, you can ensure a smooth and efficient key collection process. This will not only save you time and stress but also leave a positive impression on the landlord or property manager, showing them that you are responsible and organized.
Once you have confirmed the date and time for key collection, it is crucial to make sure that you arrive at the designated location on time. Punctuality shows your professionalism and respect for the landlord’s time. It also sets a positive tone for the landlord-tenant relationship right from the start.
Before leaving your current location, double-check that you have all the necessary documents and identification that the landlord or property manager may require. This typically includes a copy of your signed lease agreement, proof of income, references, and a valid photo ID.
When you arrive at the designated location, be prepared to present these documents to the landlord or property manager. They may want to verify your identity and ensure that you meet their rental criteria. This step is essential for both parties to establish trust and confidence in the rental agreement.
In addition to the necessary documentation, the landlord or property manager may also ask you to sign a key release form. This form states that you have received the keys to the rental property and are responsible for its safekeeping. It may include details such as the condition of the property at the time of key collection and any existing damages or issues.
It is important to read the key release form carefully before signing it. Take note of any specific instructions or conditions mentioned in the form. If you notice any discrepancies or concerns, address them with the landlord or property manager before signing. This ensures that both parties are on the same page regarding the condition and responsibilities associated with the rental property.
Once you have presented the necessary documents and signed any required paperwork, the landlord or property manager will hand over the keys to the rental property. Take a moment to inspect the keys and ensure that they work properly. If you encounter any issues, such as a malfunctioning lock or missing keys, notify the landlord immediately. It is crucial to address these concerns upfront to avoid any misunderstandings or disputes in the future.
After receiving the keys, express your gratitude to the landlord or property manager for their time and assistance. This small gesture goes a long way in building a positive relationship with your landlord, which can be beneficial throughout your tenancy.
Now that you have collected the keys, you are one step closer to settling into your new rental property. Take the time to familiarize yourself with the property’s features and amenities. If there are any specific instructions or guidelines provided by the landlord, make sure to follow them accordingly.
Inspecting the rental property is crucial to protect yourself as a tenant and to avoid any disputes or disagreements with the landlord later on. As you walk through each room, pay close attention to every detail and take note of any damages or issues that you come across.
Start by checking the appliances in the kitchen. Make sure that they are all in working order and that there are no signs of damage or wear and tear. Test the stove, oven, refrigerator, and dishwasher to ensure that they are functioning properly.
Move on to the bathrooms and inspect the fixtures, such as the toilet, sink, and shower. Look for any leaks or signs of water damage. Check the water pressure and temperature to ensure that they are satisfactory.
Next, examine the walls, floors, and ceilings in each room. Look for any cracks, holes, or stains. Take note of any areas that may require repair or repainting. Inspect the windows and doors to ensure that they open and close properly and that there are no drafts.
Don’t forget to check the electrical outlets and switches. Test them to make sure that they are working correctly. Look for any exposed wires or faulty connections that may pose a safety hazard.
Inspect the heating and cooling systems, if applicable. Test the thermostat to ensure that it is functioning properly and that the temperature can be adjusted to your liking. Check the filters and vents for any dirt or debris that may need to be cleaned.
Finally, take photos or videos of any damages or issues that you come across during the inspection. This documentation will serve as evidence of the property’s condition at the time of key collection and will help protect your security deposit.
If you notice any significant damages or issues that were not previously disclosed by the landlord, make sure to bring them to their attention immediately. It is important to address these concerns before moving in to avoid any misunderstandings or conflicts later on.
By thoroughly inspecting the rental property and documenting its condition, you can ensure that you are not held responsible for any pre-existing damages and that you have a clear understanding of what is expected of you as a tenant.
Step 6: Report any Issues
If you notice any damages or issues during the property inspection, it is crucial to report them to the landlord or property manager as soon as possible. This step is essential in protecting yourself and ensuring that the property is in good condition before you move in.
When reporting issues, it is best to provide a detailed account of each problem. This can be done through email or a written report, depending on the communication method preferred by your landlord or property manager. Including supporting evidence such as photos or videos can also be helpful in documenting the issues accurately.
By reporting any damages or issues promptly, you are taking proactive steps to protect yourself from being held responsible for pre-existing damages. This documentation will serve as evidence of the property’s condition at the time of your move-in, preventing any disputes that may arise later on.
Additionally, reporting issues in a timely manner ensures that necessary repairs are carried out promptly. This benefits both you and the landlord, as it helps maintain the property’s value and livability. Delaying the reporting of issues can result in further damage or inconvenience, so it is essential to address them as soon as they are discovered.
Remember, the landlord or property manager has a responsibility to address any issues that arise during the inspection. They should provide you with a clear plan for resolving the problems and a timeline for completing the repairs. If they fail to do so, it may be necessary to seek legal advice or consult your local tenancy board for guidance.
Overall, reporting any damages or issues promptly is a crucial step in the rental process. It protects your rights as a tenant, ensures the property is in good condition, and promotes a positive landlord-tenant relationship based on open communication and accountability.
Additionally, it is a good idea to label each key with a clear and identifiable tag. This will make it easier to locate the correct key when needed, especially if you have a large collection of keys. You can use a permanent marker or a label maker to create clear and legible labels for each key.
When storing the keys, it is important to choose a location that is secure and protected from unauthorized access. Consider using a locked drawer or cabinet, or even a safe if you have valuable or sensitive keys. If you choose to use a key box, make sure it is made of durable materials and has a reliable locking mechanism.
In addition to storing the keys securely, it is also a good idea to keep a record of the keys. Create a detailed inventory of the keys you have, including their purpose, location, and any additional information that may be relevant. This will help you keep track of the keys and ensure that they are accounted for at all times.
Furthermore, it is important to establish a clear key management system. This can include assigning responsibility for the keys to specific individuals, implementing a sign-in and sign-out process, or using a digital key management system. By implementing a structured system, you can minimize the risk of keys being lost or misplaced.
Lastly, it is crucial to regularly review and update your key storage and management practices. As your needs change or new keys are added to your collection, it is important to reassess your storage methods and make any necessary adjustments. By staying proactive and vigilant, you can ensure that your keys are safely stored and easily accessible when needed.